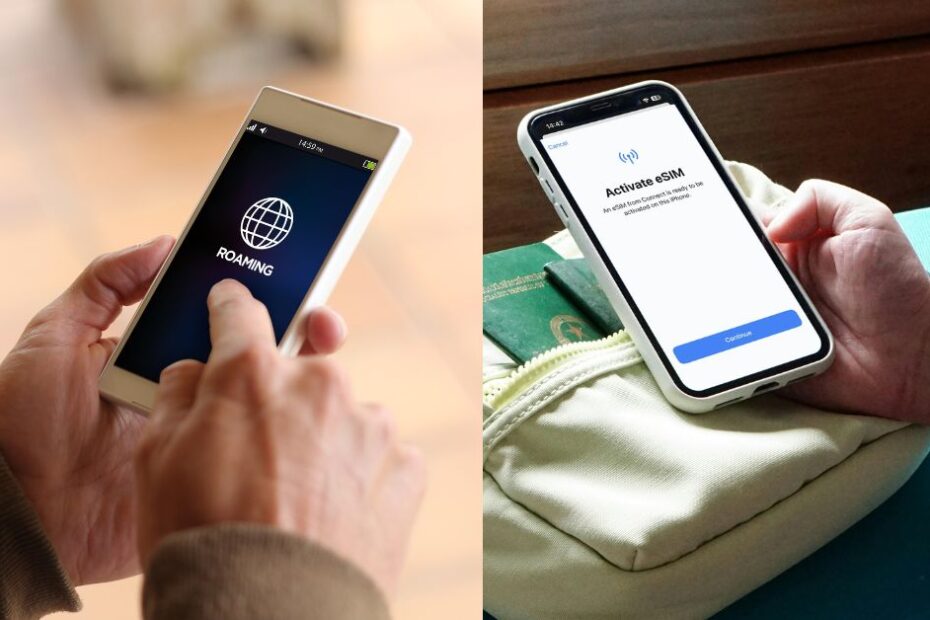
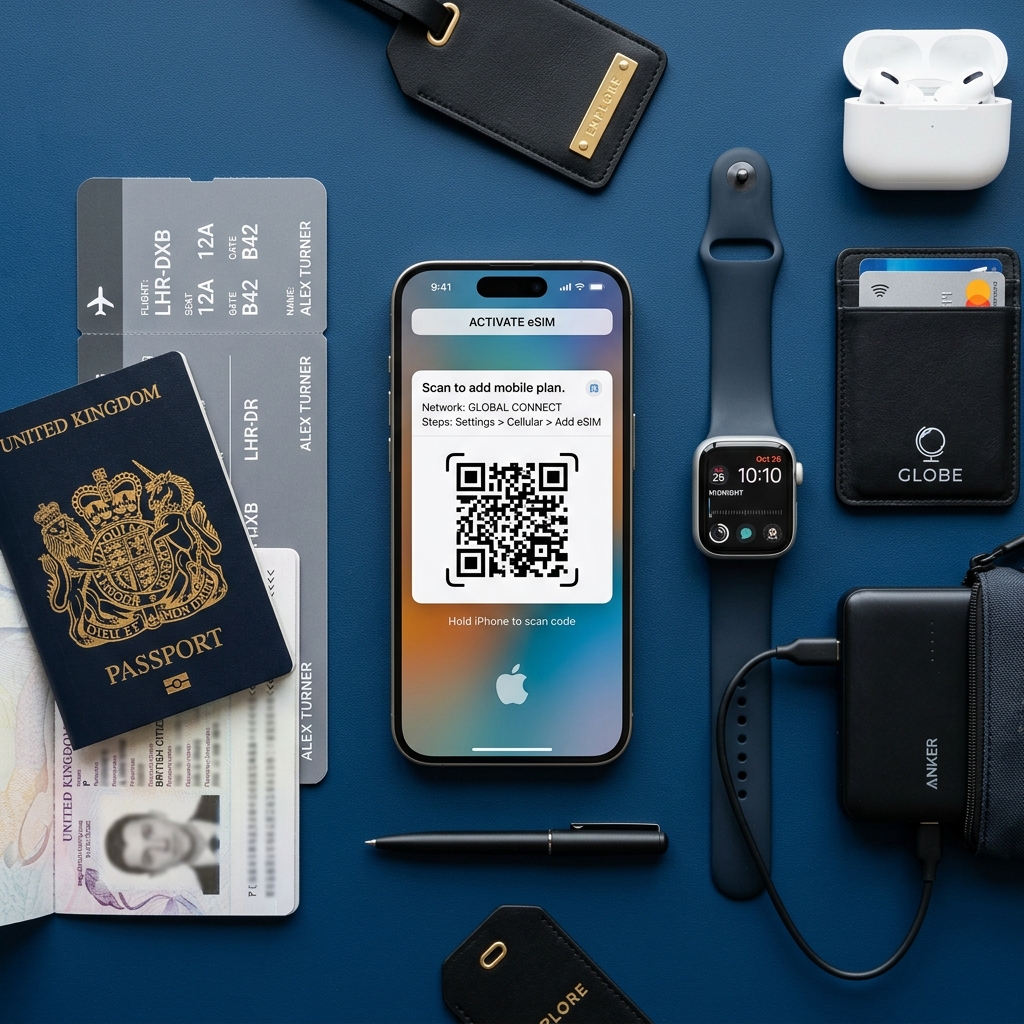
Detailed guide on installing and activating a travel eSIM. Switching from a traditional physical SIM card to an embedded SIM (eSIM) is one of the best upgrades you can make for international travel. It eliminates the need to buy local cards, search for paperclips to pop open tray drawers, or worry about losing your home SIM card.
However, the setup process can sometimes feel confusing if you are doing it for the first time. This step-by-step guide will walk you through checking compatibility, configuring settings, installing the profile, and getting connected on arrival.
1. Introduction: The Evolution of Global Connectivity
For decades, international roaming meant buying a plastic SIM card from a local kiosk upon landing. This traditional method, while functional, comes with several inconveniences: long airport queues, language barriers, premium airport markups, and the constant risk of losing your original physical SIM card while it is out of your phone. Many travelers also faced the frustration of finding a paperclip or SIM ejector tool in a foreign terminal just to swap cards, leaving their primary phone number completely offline until they returned home.
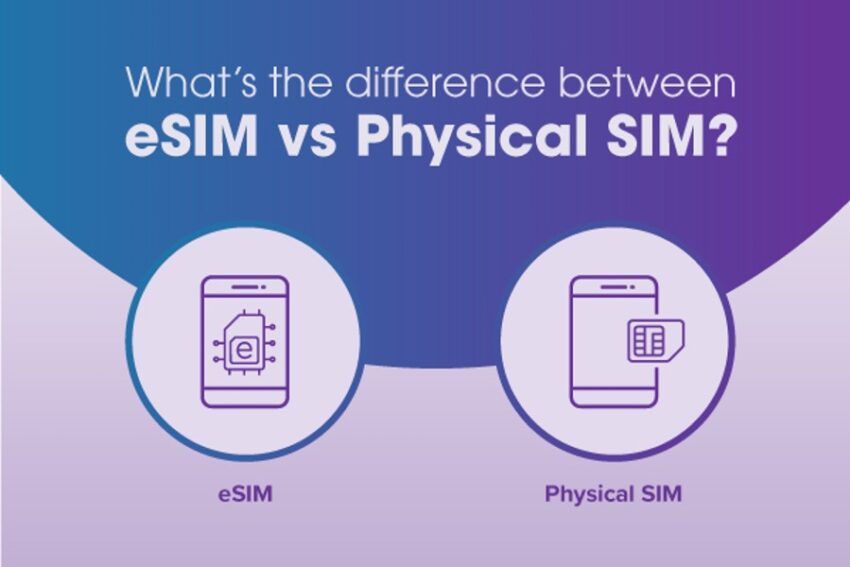
eSIM technology solves all of these problems by shifting the entire connectivity model to the digital realm. By embedding a programmable, rewritable chip (eUICC) directly into your smartphone hardware during manufacturing, you can download carrier profiles over the air. You can browse data plans, purchase an eSIM, and pre-install the profile before you even pack your bags. Once you touch down at your destination, your phone connects automatically to the local partner network.
Here is a summary of how eSIM technology compares to traditional roaming:
- Cost-efficiency: Avoid domestic roaming plans that charge up to $10/day. Instead, buy cheap prepaid local data plans from $3-$5 for the entire trip.
- Dual-Active Connectivity: Keep your primary physical SIM active to receive important bank verification SMS codes, while routing all internet traffic through the travel eSIM.
- Instant Switching: Buy plans for multiple countries (e.g., a regional Europe or Asia plan) and let your phone automatically switch networks as you cross borders.
- Enhanced Security: Since the eSIM is embedded in the motherboard, it cannot be physically removed if your phone is lost or stolen, making it much easier to track.
2. Checking Device Compatibility: The Essential First Step
Before purchasing a travel eSIM, you must verify that your smartphone supports eSIM technology. While most premium smartphones manufactured after 2018 include eSIM chips, compatibility varies by model, manufacturer, and region of purchase.
To check compatibility quickly:
- On Apple iPhone: Go to Settings > General > About. Scroll down to the “Carrier Lock” or “Network Provider Lock” section. If it says “No SIM restrictions” and you see a section named “Available SIM” or “Digital SIM” with an IMEI code below, your phone supports eSIMs.
- On Samsung Galaxy: Go to Settings > About Phone > Status Information. Look for an “eSIM IMEI” or “eSIM ID” listing.
- On Google Pixel: Go to Settings > Network & Internet > SIMs. Tap Add SIM (or the + icon). If the system prompts you to “Download a SIM instead?”, your device is compatible.
3. Carrier Lock Status: Why Unlocked Phones Are Mandatory
Even if your phone has the physical eSIM hardware chip, you cannot use a travel eSIM if your device is locked to a specific network carrier. This is common for phones purchased under installment contracts or carrier-financed plans. A carrier lock restricts your device to your home provider’s network, preventing you from installing third-party cellular profiles.
To check your lock status:
- On iOS (iPhone): Go to Settings > General > About and check the Carrier Lock field. If it displays “No SIM restrictions”, your device is unlocked.
- On Android: Go to settings or test by inserting a physical SIM from a different network provider to verify if it receives signal.
If your device is locked, contact your home carrier’s customer support to request an unlock before your trip. Most carriers will unlock the device if your account is in good standing and the installment contract is fully paid off.
4. Pre-Installation Timing: When is the Best Time to Setup?
One of the most frequent questions travelers ask is: “When should I install my eSIM profile? Can I do it weeks in advance, or must I wait until I land?”
- The Recommended Window: We strongly recommend installing your eSIM the day before your departure while you are still at home or at your hotel.
- Why Setup Early? Downloading an eSIM profile requires a strong, stable, and uninterrupted internet connection. Attempting to download and activate the configuration files using laggy airport Wi-Fi, public transit hotspots, or a weak cellular signal can cause the installation to fail midway, which might lock the eSIM permanently.
- How Validity Works: Many first-time users worry that installing the eSIM early will consume their paid data days. However, for 90% of travel eSIM providers (such as Saily, Airalo, or Holafly), the validity period (e.g., 7 days, 15 days, or 30 days) only begins countdown when the eSIM detects and registers on a partner network at your destination.
- Exceptions to the Rule: Some specific eSIMs begin their validity window immediately upon installation or purchase. Always review the product details from your eSIM provider. If your plan starts immediately, install it at the airport terminal just before boarding your flight.
5. Method 1: Installing via QR Code (The Preferred Way)
Most travel eSIM providers will send you a confirmation email containing a QR code immediately after purchase. Scanning this QR code is the simplest and fastest installation method. It automatically feeds the network routing info (known as the SM-DP+ server address) to your phone’s operating system without manual input errors.
Since you cannot directly scan a QR code that is displayed on your phone’s own screen, you need to display the code on another medium. Here are the easiest ways to scan the code:
- Use a Second Device: Open the confirmation email or login to your provider’s portal on a laptop, tablet, desktop computer, or a travel companion’s smartphone.
- Print the Code: Print out the email containing the QR code onto a sheet of paper. Keep this paper with your passport as a backup.
- Use the Provider’s App (Direct Install): Many premium eSIM brands offer a mobile application. If you install their app, you can often bypass the QR code scan entirely by selecting a button that says “Direct Installation” or “Install eSIM” inside the app dashboard.
Important Connection Tip during scanning: Ensure you keep your internet connection active during the scan. Once the QR code is visible, navigate to your phone’s network configuration settings, select the option to add an eSIM, and use your device’s camera viewfinder to scan the code. Keep the phone steady for 30–60 seconds as it contacts the server and registers your digital line. Do not close the settings window or turn off your screen during this process.
6. Method 2: Manual Installation (When QR Codes Fail)
If you do not have access to a second screen to display the QR code, or if your phone’s camera fails to scan it, you can install the eSIM profile manually by copying and pasting the configuration codes. This method is incredibly useful for solo travelers who do not have access to a laptop or a companion’s screen while on the move.
Your provider will supply two critical details in your account dashboard or confirmation email:
- SM-DP+ Address: This stands for Subscription Manager Data Preparation. It is a technical server URL (e.g.,
rsp.esimprovider.comorcust-prod.misp.com) that routes the profile download to your chip. - Activation Code: A long, unique string of letters and numbers that links your specific purchase to the download query.
- Confirmation Code (Optional): Some high-security profiles require a 4-digit PIN code. If provided, enter this code when prompted during setup.
To perform a manual installation, follow your device’s normal path to add a mobile network, but click the “Enter Details Manually” or “Enter Activation Code” option at the bottom of the QR scanner view. Copy the SM-DP+ Address and paste it into its respective field, then do the same for the Activation Code. Double-check that there are no accidental spaces before or after the pasted text, as even a single space will result in a connection error.
7. Configuration Details for Apple iPhone (iOS)
To install your eSIM profile on an iOS device (iPhone), follow these step-by-step system settings:
- Open Settings > Cellular (or Mobile Service).
- Tap Add eSIM (or Add Data Plan).
- Select Use QR Code.
- Scan the provided QR code. If installing manually, tap Enter Details Manually at the bottom and paste the SM-DP+ Address and Activation Code.
- Tap Continue to download and install the cellular profile.
- Label the eSIM Line: Choose a descriptive label like “Travel Data” or “Saily eSIM” to separate it from your “Primary” home SIM.
- Set your Default Voice Line to your Primary line.
- Set Cellular Data to your Travel eSIM line. Ensure Cellular Data Switching is turned OFF.
8. Configuration Details for Android & Samsung Devices
To install your eSIM profile on an Android or Samsung Galaxy device, use the following detailed menu paths (please note that menu structures can vary depending on your software version and device manufacturer):
For Samsung Galaxy Devices (One UI)
- Navigate to Settings > Connections > SIM manager.
- Tap Add eSIM (or Add Mobile Plan).
- Select Scan QR code from service provider. Alternatively, if you are doing a manual installation, tap Enter activation code and paste your SM-DP+ address and activation string.
- When prompted, tap Add or Confirm to allow the download of your new eSIM profile.
- Once installed, tap on the new plan name, rename it to something recognizable (e.g., “Saily eSIM” or “Travel Data”), and ensure it is toggled OFF until you reach your destination.
For Google Pixel & Stock Android Devices
- Go to Settings > Network & Internet > SIMs.
- Tap the + (Add) icon next to the “SIMs” section.
- Select Download a SIM instead? and tap Next.
- Scan the QR code. To paste details manually, tap Need help? on the scanning screen, then select Enter it manually.
- Once downloaded, tap Settings on the SIM screen, change the label to “Travel eSIM”, and set it to inactive.
Under preferred SIM settings, you can configure your default options. To avoid high roaming bills, keep your home physical SIM set as the preferred line for Calls and Messages (so you can receive SMS messages), but make sure you select the travel eSIM for Mobile Data once you land.
9. Activating Data Roaming and Selecting the Network Profile
Once you land at your destination airport, you must perform a couple of quick settings updates to activate your data connectivity.
- Toggle eSIM ON: Turn the eSIM profile to ON or Enabled in your phone’s cellular menu.
- Enable Data Roaming: Go to your travel eSIM profile settings and turn Data Roaming to ON.
- Do NOT Enable Roaming on Home SIM: Keep data roaming turned OFF on your primary home SIM line to avoid background charges.
| SIM Line | Status | Mobile Data | Data Roaming |
|---|---|---|---|
| Primary SIM | ON (Active) | Disabled | Turned OFF |
| Travel eSIM | ON (Active) | Preferred Channel | Turned ON |
10. Troubleshooting Common eSIM Activation Issues
If your phone displays “No Service” or if your cellular connection fails to work after landing, try these common troubleshooting fixes:
- Wait a Few Minutes: It can take up to 5 minutes for a new eSIM profile to search, negotiate, and register on local roaming carrier partners.
- Restart Your Phone: Toggle your device to Airplane Mode for 10 seconds, or restart the device. This forces the eSIM chip to trigger a fresh network registration cycle.
- Check the APN Settings: Some eSIMs require a specific APN (Access Point Name) configuration (e.g.,
internetormobile). Check your provider’s setup instructions. - Manual Network Selection: If the default carrier has weak service, go to Settings > Cellular > Network Selection, turn off “Automatic”, and manually select a different local roaming carrier partner.
11. Testing Your Connection: How to Confirm You are Connected
Once you have completed the activation steps at your destination, it is crucial to verify that your phone is routing internet traffic through the travel eSIM and not accidentally using your primary SIM’s expensive roaming plan.
To check if your travel eSIM is working correctly without billing your primary home account, run these quick checks:
- Check the Dual Signal Bars: Look at the top of your phone’s screen. On modern Dual-SIM devices, you should see two separate sets of cellular signal reception bars, or a stacked signal indicator showing that both the primary SIM and travel eSIM are connected to local networks.
- Verify the Data Indicator: Turn off your Wi-Fi connection. You should see a data connection indicator (such as
5G,LTE, or4G) next to the travel eSIM signal bars, indicating active data routing. - Verify Your Routing IP Address: Open your web browser and visit a diagnostic website like
whatismyip.com. The page will display your current IP address and ISP. The location shown should match your travel destination (or the eSIM provider’s routing hub), confirming that your browsing is successfully going through the local eSIM. - Inspect the eSIM Cellular Details: In your device’s cellular settings, check the data usage counter for the travel eSIM. If the byte count is increasing as you load webpages, the connection is working.
- Send a WhatsApp Message: Try sending a text message on WhatsApp or loading a map direction. If it works smoothly, your mobile data setup is complete and fully functional.
12. Frequently Asked Questions (FAQs)
Here are answers to the most common questions about installing and activating travel eSIMs:
No. An eSIM profile is a secure carrier token that is bound to the specific hardware chip of the device that scanned it. Once scanned and downloaded, the QR code is deactivated and cannot be scanned again on another device.
Yes. Your phone must connect to the internet (via Wi-Fi or cellular data) to contact the remote carrier download servers (SM-DP+) and load the profile files.
Generally, no. Deleting an eSIM profile breaks the security token. Most travel eSIM providers do not support reinstalling a deleted profile using the same QR code. Only delete the eSIM profile if instructed by customer support or once your trip is over.
Open your network settings and verify that the line is enabled. If you are still at home, it will likely show “No Service” or “Searching,” which is normal. It will automatically connect to a roaming carrier partner once you land.
13. Summary Checklist: The Ultimate eSIM Installation Guide
Ensure a smooth activation by reviewing this quick summary checklist:
- Compatibility Check: Verify your phone is unlocked and supports eSIM.
- Pre-Installation: Setup your eSIM the day before departure using secure home Wi-Fi.
- Scan QR Code: Display the QR code on a second screen to scan, or type SM-DP+ Address manually.
- Label Profiles: Give your eSIM profile a clear label (e.g., “Travel Data”) to distinguish it from your primary line.
- Turn Off Data Switching: Turn off automatic cellular data switching on iOS/Android.
- On Arrival: Turn your eSIM line ON, enable data roaming specifically for the eSIM, and keep your primary SIM ON but block its data roaming.
- Troubleshooting: Toggle Airplane Mode or restart the device if the connection is slow to register.